Nope - we're not adding onto the house. We're not moving. We're not adopting another Berner (although, if they didn't shed so much...we sure would love to have another). We're having a baby! Due at the end of March, we are waiting for the surprise to find out if Little T. is a girl or boy. Both of us love surprises and we figure that this will be one of the best surprises of our lives. We can't wait to meet Little T., but until then...it's definitely time to get down to business.
Our bedroom is on the first floor of our house while the spare rooms are on the second, so our first decision was to figure out where we'd put the baby after we move her/him out of our bedroom. We knew we wouldn't really want to be doing stairs in the middle of the night - so we thought briefly about our closet. That sounds a little ridiculous, but before we added shelves and clothes racks, it was a small, cozy empty room. But then we finished the closet this summer and knew there wouldn't be space for a crib. In discussing this with family, my father-in-law said, "What about Susanna's first floor study?" And that's when it clicked. My study is a nice size, cozy room with two windows, a coffered ceiling and opens to our open-concept first floor with two french doors. When we moved in we brought my grandmothers large desk into the study, filled it with all of my books, computer stuff, stationary, etc, and I figured we might be able to clear out my stuff and repurpose the shelves and two cabinets for baby stuff.
.JPG) |
| Close up of the fabric - beautiful 'drape' I think. |
I knew the french doors and windows would need curtains and I hoped that adding fabric to the glass surfaces would help muffle some of the sound that could go through the doors from our TV or kitchen while the baby was trying to sleep. So the second decision was fabric for the room. This room is ultimately going to remain my study after a few years and I knew I didn't want to make curtains that could only be used for a nursery. And because the french doors have window panels, the fabric would need to work with the rest of our first floor - the colors of which are mostly blue, white, and flax. I scoured fabric sites and finally found on
fabric.com a navy and white linen/cotton blend print that I loved and seemed gender-neutral enough for a baby's room -
Dena Designs Sunshine Ornament. I ordered 15 yards - more than enough for curtains, door panels, and a crib skirt. Added bonuses to this fabric: it has a beautiful drape being 50% linen and 50% cotton and is easy to measure, cut, and match, given the pattern.
 |
| The view from our main living area when the doors are closed. |
First up - door panels: I decided to line these in a white cotton linen,
instead of doing both sides in the print. I didn't want the room to
feel overwhelmed by the pattern while inside (more for me when the room
goes back to being a study). I made one stupid, rookie mistake with
these: I cut the fabric before washing it. I never expected the fabric
to shrink 2 inches! So, although others won't be able to notice, I would
have really liked these to be about 2 inches longer to give a little
more light block from our living area when the doors are closed.
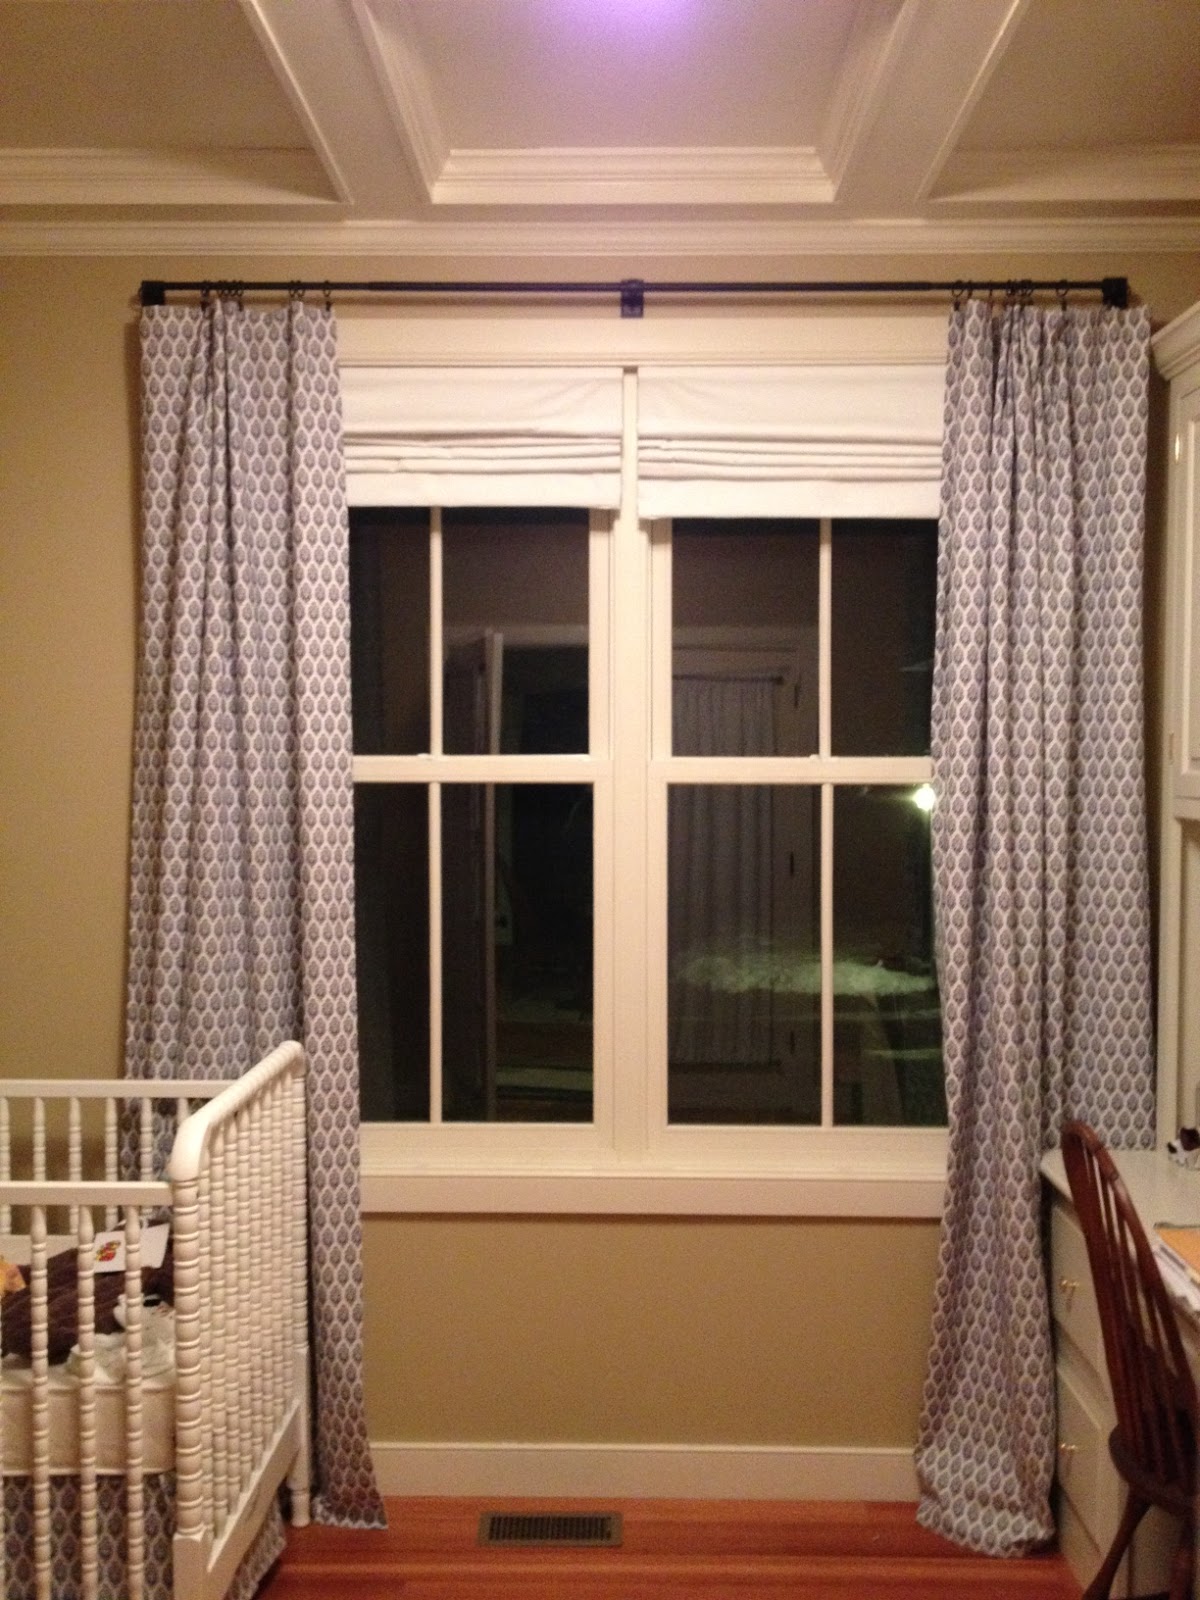
Second - curtains. I've always made curtains that fit inside the frame of the window, but for our house I wanted a more current style. I also thought that we would need easy-to-use shades to actually block light, just in case our baby is a fussy sleeper. So I decided to make curtain panels that would go almost from the ceiling to the floor, over
roman shades that would sit within the window frame. I lined the curtains with a light, yet insulating fabric to give more light-blocking potential and to keep the cool air from the surface of the windows contained. I washed everything before cutting and sewing this time. From the stories I've heard, everything in a baby's room needs to be washable!
.JPG) |
| Curtain liner to add insulation and light-blocking. |
 |
| Window treatment - finished and hung thanks to my amazing husband who installed the hardware and the roman shades. |

Third: crib skirt. I had seen many variations on the DIY crib skirt and found
a post on the tealandlime blog that seemed to have the best instructions. I wanted to attempt a box pleat and that post has very clear instructions. So I measured the washed fabric to fit the sides of the crib, added 16 inches per side to allow space for the box pleats and set to sewing. I decided the panels didn't need to be lined. I think if I had had more energy at the time, I would have lined them...but in the end I can't tell that they aren't lined so I'm okay with my decision to be lazy.
Apologies for the mattress showing - I haven't gotten to sheets yet and don't want to buy anything until after our Baby Shower (coming up soon - I'm soo excited!).
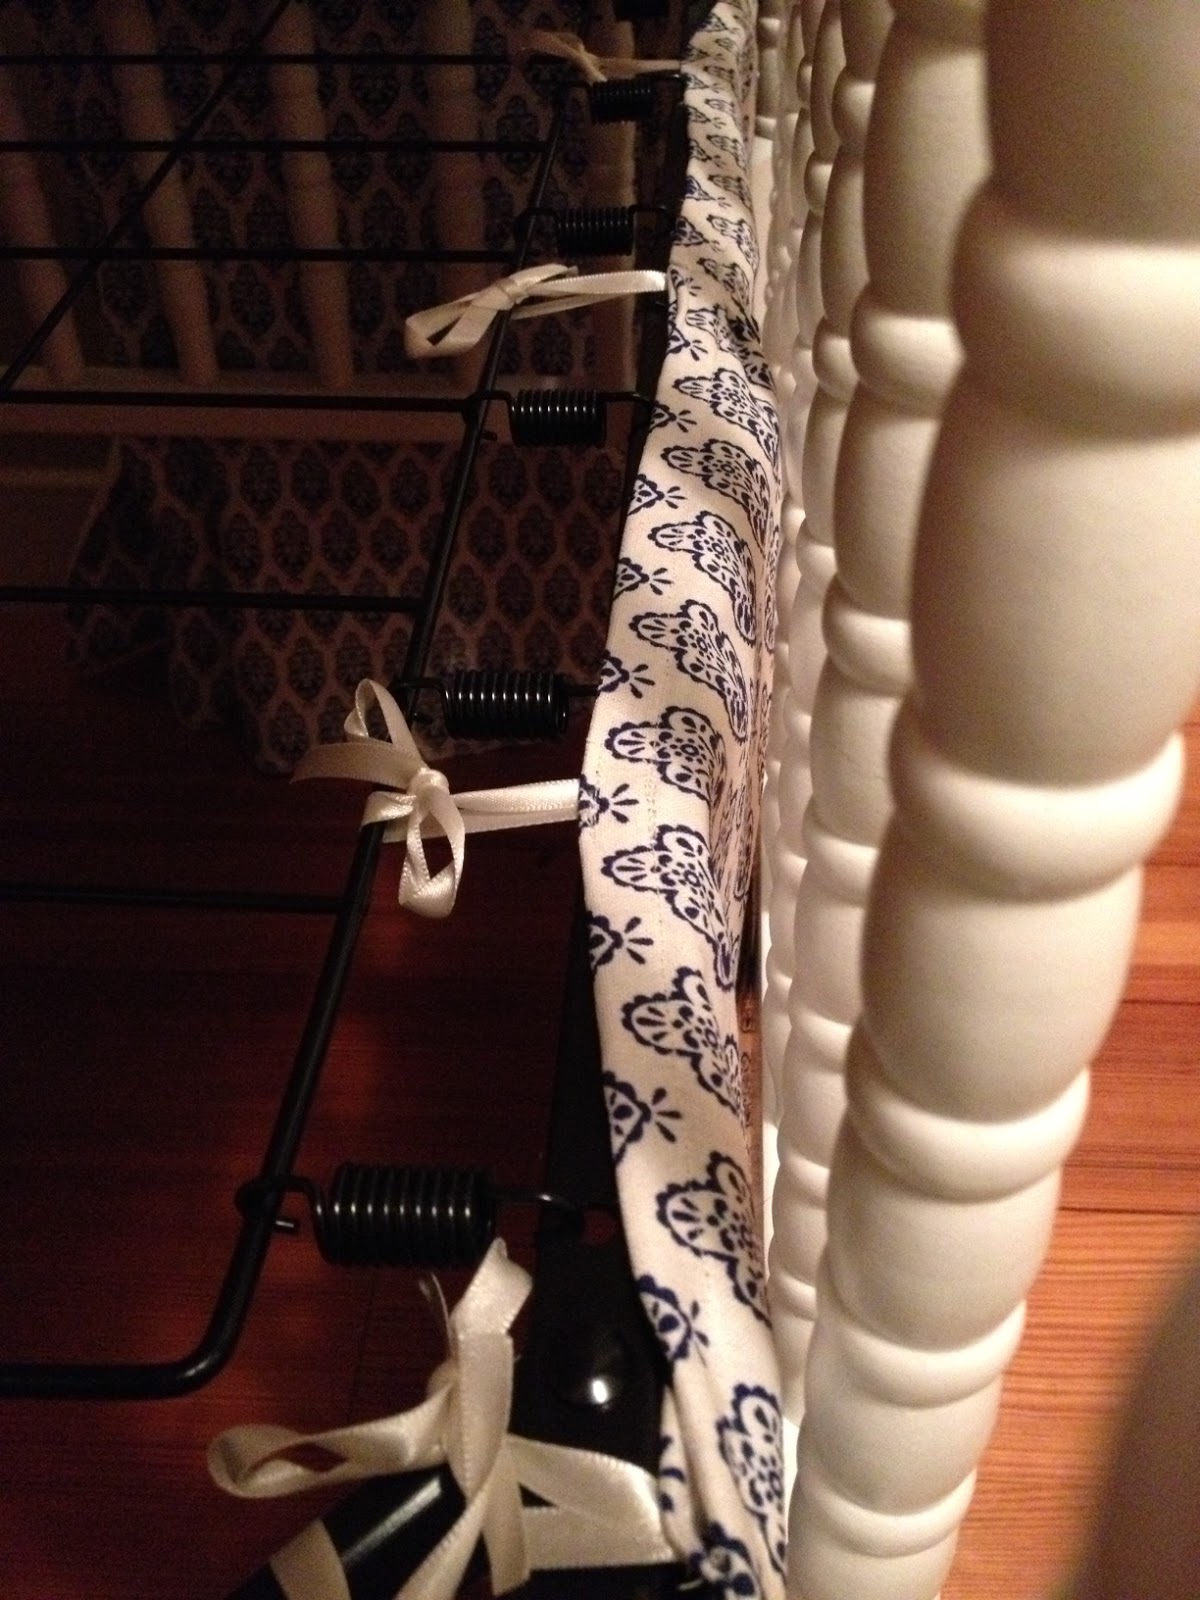
Cribs are usually made to have adjustable heights. The highest setting is used first, when the baby can't stand up and try to crawl out. So I knew the skirt would have to be adjustable. I'd seen some great solutions on a few blogs, but ultimately decided to go with ties at the top to make my skirt adjustable. It seemed like a clean, simple solution. So I cut about 14 12-inch lengths of satin ribbon and sewed the ties to the top of the skirt. This way, I can tie the skirt higher as we adjust the crib down for growing Little T.
 |
| Here's the tie solution for when we need to raise the skirt and lower the crib height. |
And here's how it all looks together. I still need to organize the desk for storage, purchase a rug, find some artwork, and pull it all together...but I'm so happy to have these 3 sewing projects completed. 10 weeks to go! (Also, I think the contractor khaki paint is going to have to stay - it looks more brown here than it does in person...and I just don't want to mess with paint while I'm pregnant. I'm still feeling burnt out of painting our last 2 houses!)
 |
| Sewing projects for Little T.'s room completed. Check! |

.JPG)

.JPG)
 Third: crib skirt. I had seen many variations on the DIY crib skirt and found a post on the tealandlime blog that seemed to have the best instructions. I wanted to attempt a box pleat and that post has very clear instructions. So I measured the washed fabric to fit the sides of the crib, added 16 inches per side to allow space for the box pleats and set to sewing. I decided the panels didn't need to be lined. I think if I had had more energy at the time, I would have lined them...but in the end I can't tell that they aren't lined so I'm okay with my decision to be lazy.